PhpStorm + vagrant + Homestead配置xdebug
PhpStorm + vagrant + Homestead配置xdebug
vagrant和homestead安装好之后,基本上就已经配置了xdebug 参考PHPStorm配置Xdebug
一、查看是否已经安装xdebug
1.登录homestead vagrant ssh 2.检查是否有xdebug配置
1 | #切换到homestead的php7环境下的配置 |
如果你看到20-xdebug.ini的配置项,说明Xdebug是正确加载了的,如下图: 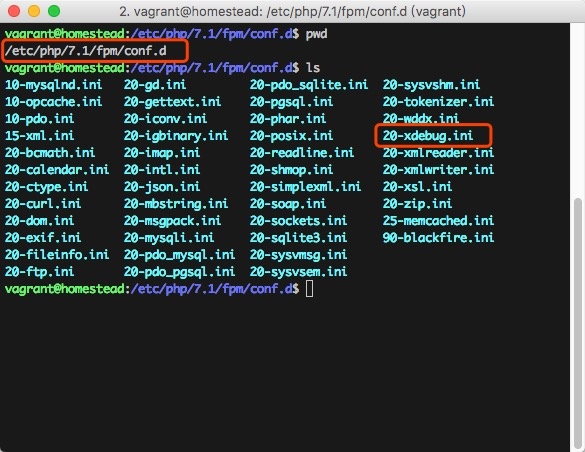
二、配置xdebug.ini
通过下面的命令进入xdebug.ini所在目录:
1 | cd /etc/php/7.1/mods-available |
你可以使用vim对其编辑,在zend_extension=xdebug.so一行下面添加下面几行:
1 | zend_extension=xdebug.so |
保存,退出,然后重启php-fpm
1 | sudo service php7.1-fpm restart |
三、配置配置PHPStorm
在PHPStorm打开你的Laravel项目,按cmd + ,呼出偏好设置,找到PHP下的Servers,进行如下配置:  然后回到导航栏,找到
 Run -> Edit Configurations,添加一个PHP Web Application。如图: 
四、chrome 安装Xdebug helper
1.chrome 下载Xdebug helper 2.Xdebug helper 打开
五、进行测试
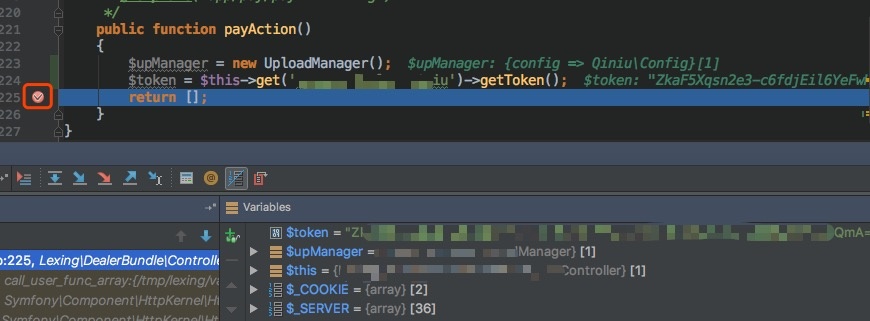
1.设置断点。 2.刷新页面 3.看到如下debug数据
然后在每一行添加断点,然后
Run --> Debug
本博客所有文章除特别声明外,均采用 CC BY-NC-SA 4.0 许可协议。转载请注明来自 Easy's Blog!


评论