server { server_name lexing.com www.lexing.com; root /home/vagrant/code/lexing;
location / { # try to serve file directly, fallback to app.php try_files $uri /app.php$is_args$args; } # DEV # This rule should only be placed on your development environment # In production, don't include this and don't deploy app_dev.php or config.php location ~ ^/(app_devconfig)\.php(/$) { fastcgi_pass unix:/var/run/php/php7.1-fpm.sock; fastcgi_split_path_info ^(.+\.php)(/.*)$; include fastcgi_params; # When you are using symlinks to link the document root to the # current version of your application, you should pass the real # application path instead of the path to the symlink to PHP # FPM. # Otherwise, PHP's OPcache may not properly detect changes to # your PHP files (see https://github.com/zendtech/ZendOptimizerPlus/issues/126 # for more information). fastcgi_param SCRIPT_FILENAME $realpath_root$fastcgi_script_name; fastcgi_param DOCUMENT_ROOT $realpath_root; } # PROD location ~ ^/app\.php(/$) { fastcgi_pass unix:/var/run/php/php7.1-fpm.sock; fastcgi_split_path_info ^(.+\.php)(/.*)$; include fastcgi_params; # When you are using symlinks to link the document root to the # current version of your application, you should pass the real # application path instead of the path to the symlink to PHP # FPM. # Otherwise, PHP's OPcache may not properly detect changes to # your PHP files (see https://github.com/zendtech/ZendOptimizerPlus/issues/126 # for more information). fastcgi_param SCRIPT_FILENAME $realpath_root$fastcgi_script_name; fastcgi_param DOCUMENT_ROOT $realpath_root; # Prevents URIs that include the front controller. This will 404: # http://domain.tld/app.php/some-path # Remove the internal directive to allow URIs like this internal; }
# return 404 for all other php files not matching the front controller # this prevents access to other php files you don't want to be accessible. location ~ \.php$ { return 404; }


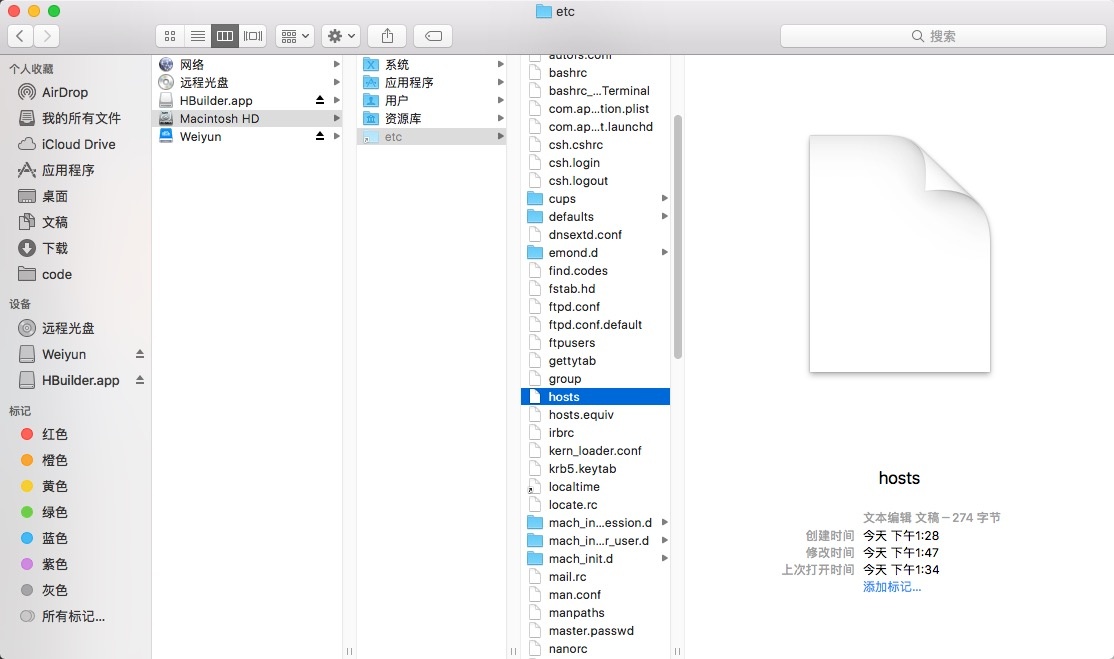 将hosts打开编辑,我这里使用sublime3,增加
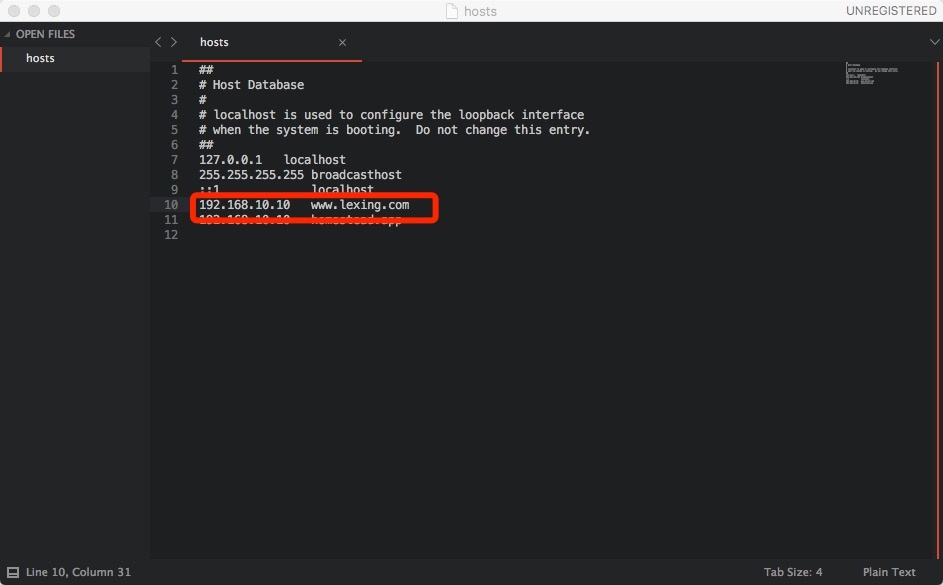 最后保存,并输入密码确认保存
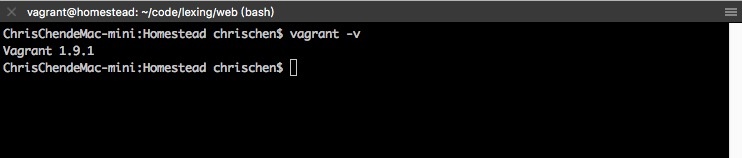
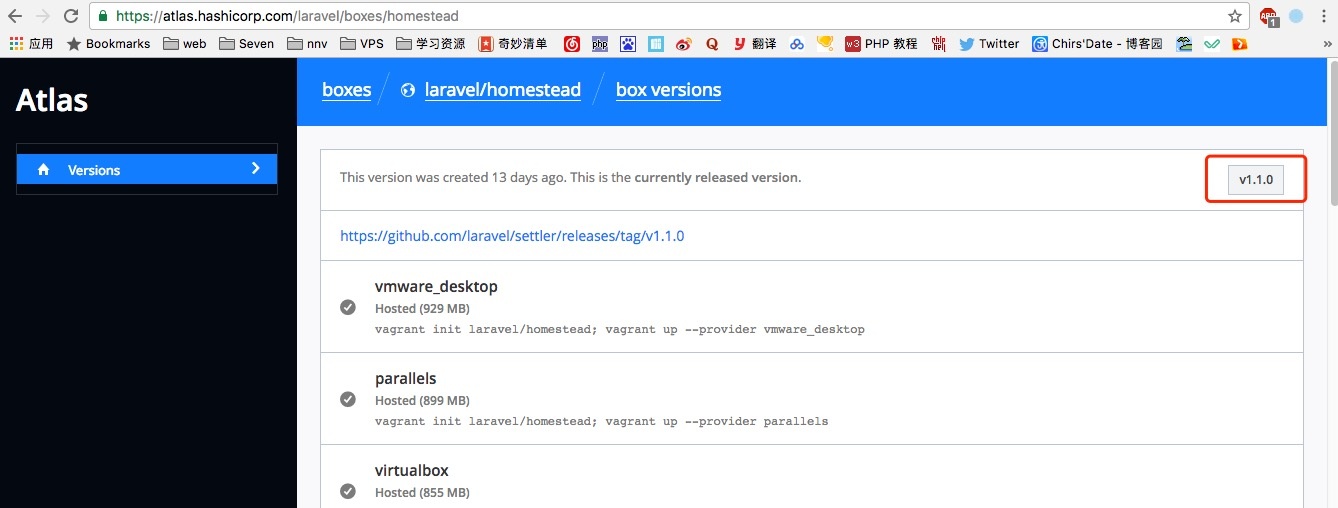 如图所示,最新版本为